
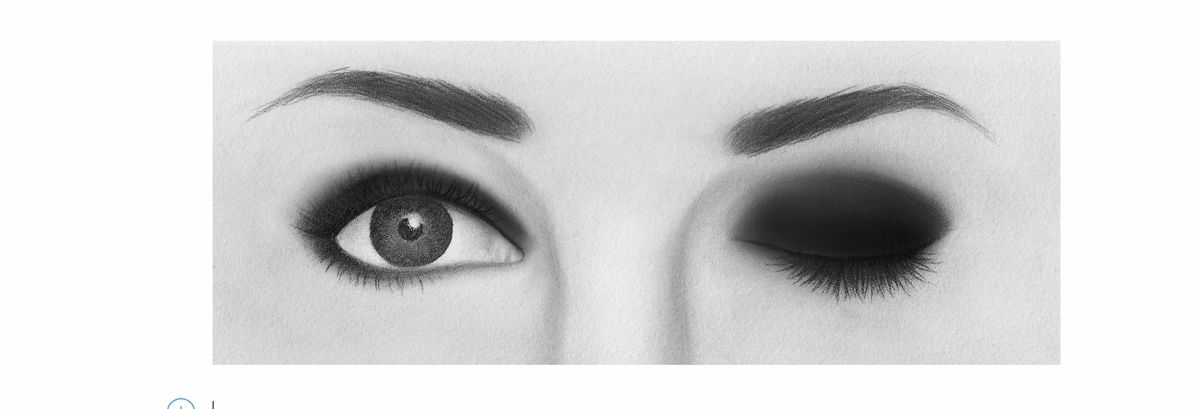
The smokey eye, a timeless staple in the world of makeup, is famed for its versatility and dramatic flair. However, mastering this look can seem daunting with its numerous variations and techniques.
This blog aims to demystify the smokey eye, presenting various styles and offering tips for each, drawing from professional experience and industry insights.
The Classic Smokey Eye:
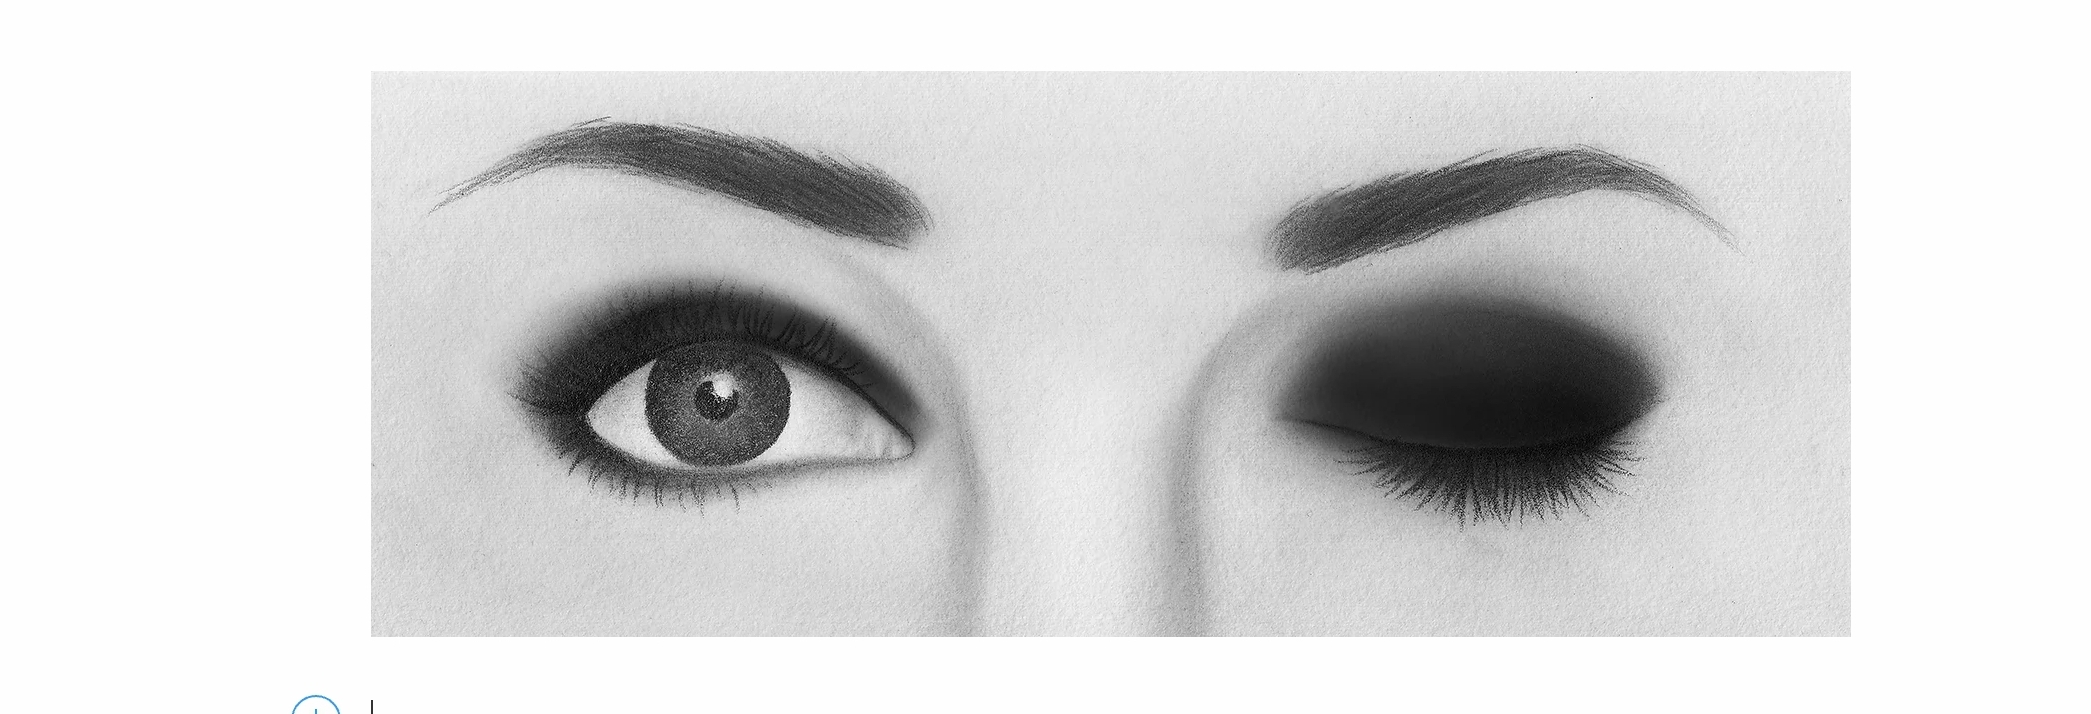
The classic smokey eye is all about blending. Start with a light, neutral shade on the lid, then apply a medium shade in the crease, and finish with a darker shade on the outer corner. Blend everything together seamlessly using a fluffy blending brush. The key to a successful classic smokey eye is the smooth transition between shades.
The Gray Smokey Eye:
Gray is a sophisticated color choice for the smokey eye. Start with a pale gray on the lid, apply a medium gray in the crease, and finish with a dark charcoal on the outer corner. This variation is perfect for those who prefer a cooler-toned look.
The Brown Smokey Eye:
For a warmer approach, the brown smokey eye is perfect. Use warm browns and taupes in place of grays. This variation is incredibly flattering and works well with most skin tones.
The Gold Smokey Eye:
Add a touch of glam with the gold smokey eye. Use champagne or light gold on the lid, bronze in the crease, and copper or deeper gold on the outer corner. This variation is perfect for evening events and special occasions.
The Blue Smokey Eye:
For the bold and adventurous, the blue smokey eye is a stunning option. Use a light blue or periwinkle on the lid, a medium blue in the crease, and a deep blue or navy on the outer corner. This look is sure to turn heads.
The Purple Smokey Eye:
Purple can be incredibly flattering and adds a creative twist to the classic smokey eye. Use a light lavender on the lid, a medium purple in the crease, and a deep plum on the outer corner.
Application Tips:
Begin by priming your eyelids to ensure longevity. Use an eyeshadow primer to create a base that will keep your makeup in place throughout the day or night. Apply darker shades to the outer corners first, then work inward with lighter shades. This approach helps prevent mistakes and allows for better blending.
Blending Techniques:
Invest in quality brushes, particularly a fluffy blending brush and a smaller pencil brush for detail work. Use circular motions when blending to create soft transitions between colors. Don't be afraid to take your time with this step; blending is what separates a good smokey eye from a great one.
Final Touches:
Complete your smokey eye with a dark eyeliner on the upper lash line and smudged along the lower lash line. Finish with a volumizing mascara to make your eyes pop. Optional: add a touch of shimmer or highlighter on the inner corner of your eye for extra dimension.
Practice and Patience:
Remember, mastering the smokey eye takes practice. Don't be discouraged if your first attempts aren't perfect. With time and patience, you'll develop the skills to create a flawless smokey eye in any color variation.